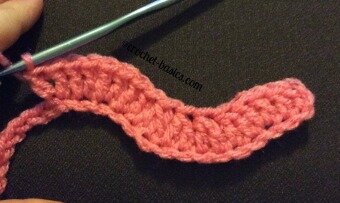
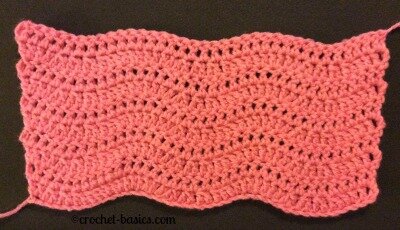
The crochet chevron stitch and the crochet ripple stitch are the same. You will see both names used in different patterns. So, don’t let this confuse you.
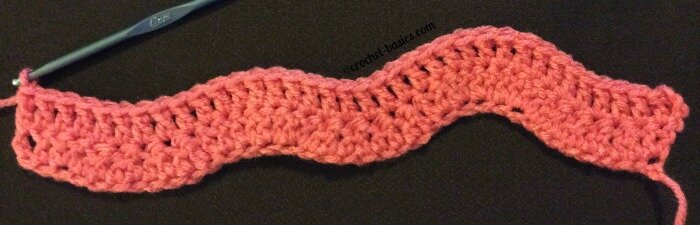
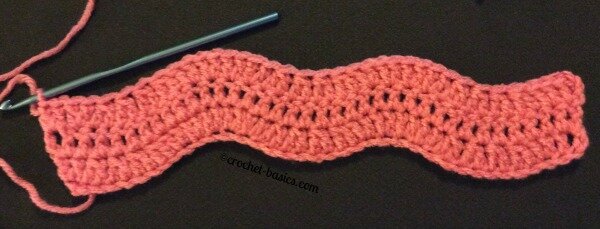
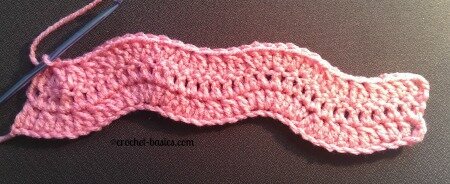
This stitch gives your projects a wonderful flowing pattern, or a ripple. It’s just lots of fun especially when it’s worked with different colors.
Most often this stitch is started in the foundation row and then used throughout the project.
I've heard the chevron/ripple stitch referred to as a hill and valley stitch. I really like that analogy because it makes it much simpler to understand. So, I'll share it with you here.
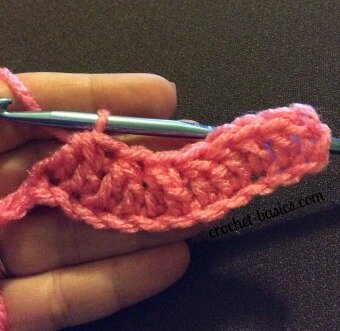
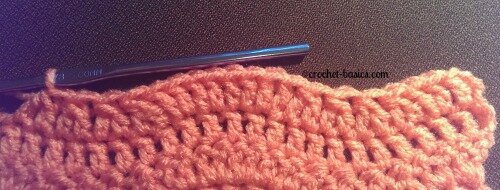
The crochet chevron stitch is created by basically working 2 corners repeatedly. The top of the hill is one corner and the valley is another corner. The top of the hill is made by increasing the stitches and the valley is made by decreasing the stitches. These hills and valleys are repeated through your work creating the chevrons or ripples.
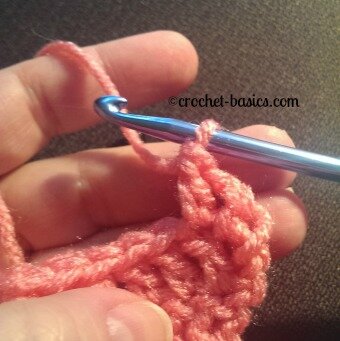
Marking your increases and decreases with stitch markers can help you keep track of where those stitches need to be. This will make things go much more smoothly.
Crochet Chevron Stitch
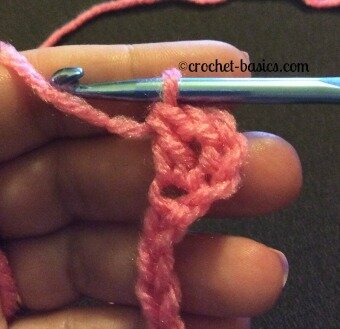
Start with a foundation chain that is in a multiple of 11 stitches + 1.
Row 1
Work 2 sc in 2nd ch from the hook,
sc in next 4 chains
skip 2 chains
sc in next 4 chains
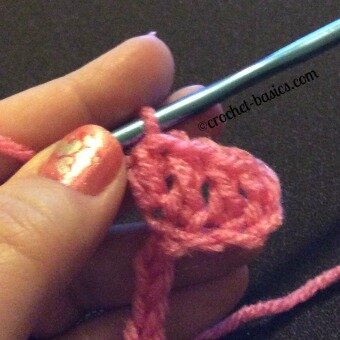
*3sc in next sc
sc in next 4 chs
sk 2 chs
sc in next 4 chs
Repeat from * ending last repetition with 2 sc in last ch.
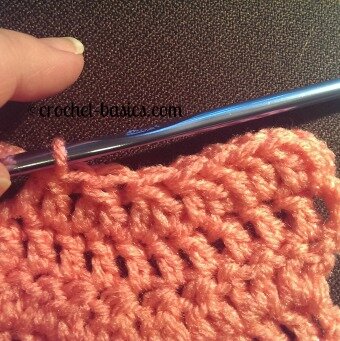
Row 2
Ch 1 and turn
I changed colors in my example, but that's not necessary. This can be done in all the same color or with multiple colors.
2 sc in first sc,
sc in next 4 sc
Sk 2 sc
Sc in next 4 sc
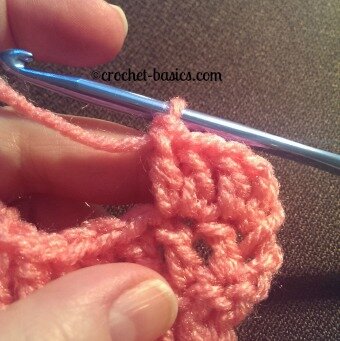
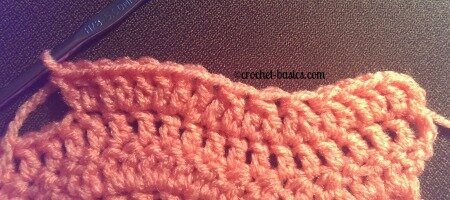
*3 sc in next sc
Sc in next 4 sc
Sk 2 sc
Sc in next 4 sc
Repeat from * ending last repetition with 2 sc in last sc
I found a website, https://www.math.cornell.edu/~dwh/papers/crochet/crochet.html that is very informative. I think it is interesting but I have not tried